
Creating the Visual Studio Solution
In this tutorial series we will create a simple line chart using SciChart WPF. First, we need to create a new project and reference the DLLs.
If you have already created a project with references to SciChart DLLs, you can safely skip to Tutorial 02 - Creating a Simple Line Chart.
First, ensure you have downloaded and unzipped the SciChart WPF Trial package.
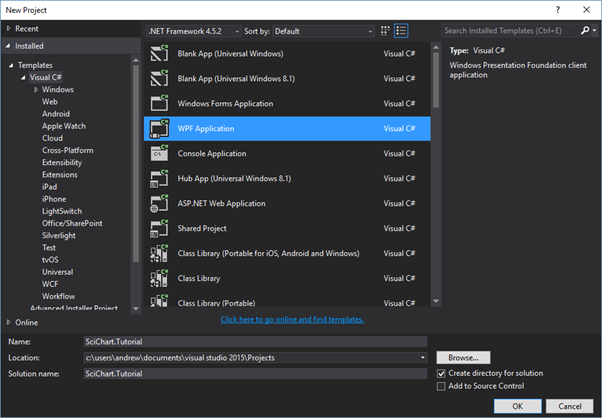
Next, create a new Visual studio project selecting WPF Application.
Referencing the SciChart DLLs
Referencing from Installation Directory.
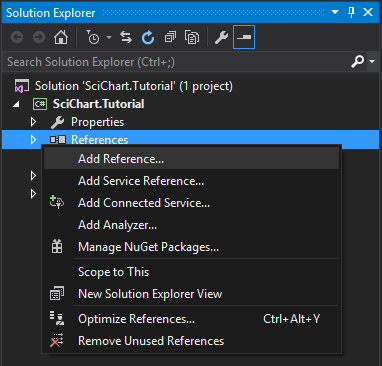
Right click the project and click Add Reference
In the References dialog, select Assemblies and search for SciChart.
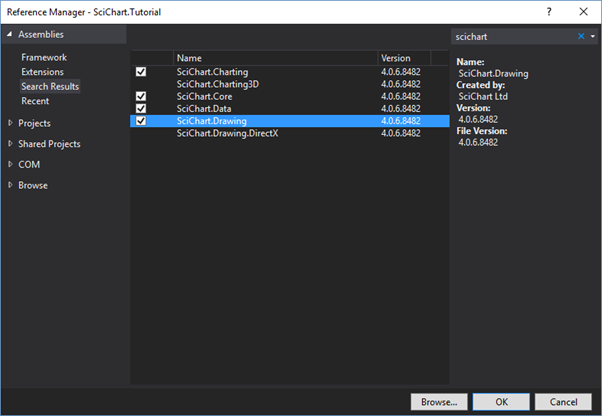
Now add a reference to SciChart.Core, SciChart.Data, SciChart.Drawing and SciChart.Charting and click OK to complete.
Can’t find them? The default installer directory is %Program Files (x86)%/SciChart Ltd/SciChart SDK/Lib/. Navigate to the install directory and select the DLL from there.
Or, alternative, referencing from NuGet
- Alternatively, you can optionally reference SciChart from NuGet. Setup the NuGet feed according to the article Getting Nightly Builds with NuGet.
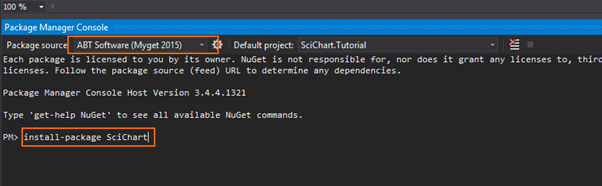
- In Visual Studio select View -> Other Windows -> Package Manager Console
- Type Install-package SciChart in the console and click Enter. This will isntall the latest build of SciChart.
At this point the solution should build and run, however we now need to add functionality.
![]()