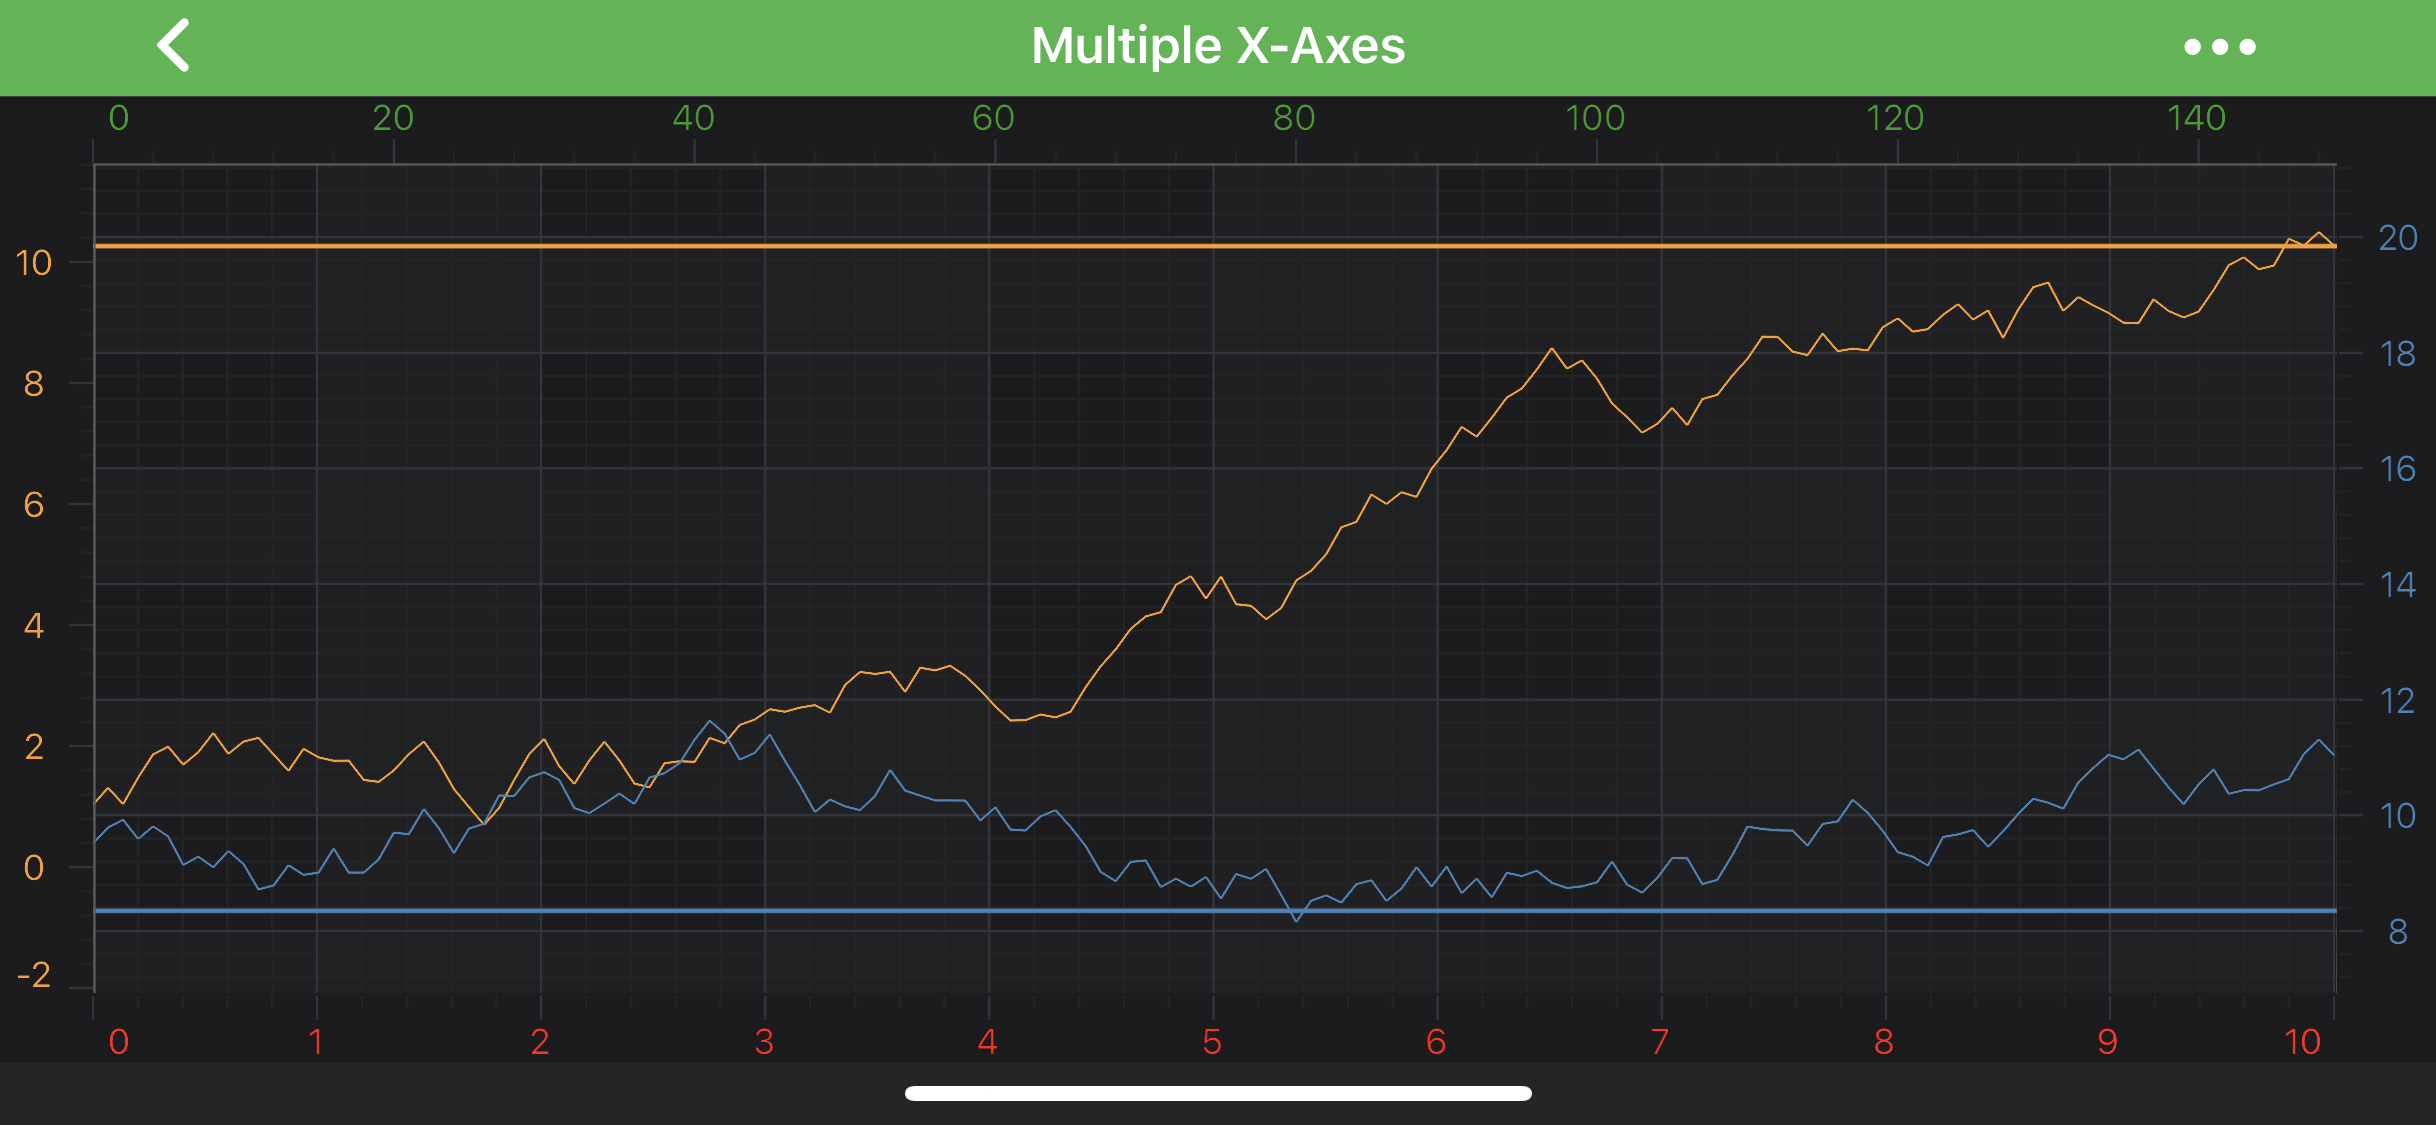
The HorizontalLineAnnotation
The HorizontalLineAnnotation draws the horizontal line between X1 and X2 coordinates at Y1:
Note
You might find it useful to learn about the VerticalLineAnnotation as well since it's very similar with the Horizontal one.
Note
Examples of the Annotations usage can be found in the SciChart Android Examples Suite as well as on GitHub:
The HorizontalLineAnnotation class is inherited from LineAnnotation, and hence, provides the stroke property which is used to define the line annotation color. It expects a PenStyle object. To learn more about Pens and Brushes and how to utilize them, please refer to the PenStyle, BrushStyle and FontStyle article.
Note
To learn more about Annotations in general - please see the Common Annotation Features article.
In general case, the position of an HorizontalLineAnnotation can be defined by the y1 value only, which will lead to full-width horizontal line at Y1 coordinate.
Despite the above, it is possible to specify X1 and X2 coordinates for the line ends, but it will work differently while combined with different Gravity.
horizontalGravity property can consume the following values:
- Gravity.LEFT - the
X1coordinate will be applied to the right end of a line. The line appears pinned to the left side. - Gravity.RIGHT - the
X1coordinate will be applied to the left end of a line. The line appears pinned to the right side. - Gravity.CENTER_HORIZONTAL - both
X1andX2coordinates will be applied. - Gravity.FILL_HORIZONTAL - both
X1andX2coordinates are ignored. The line appears horizontally stretched. This is the default value.
The X1 and X2 values can be accessed via the x1 and x2 properties
Note
The xAxisId and yAxisId must be supplied if you have an axis with non-default Axis Ids, e.g. in multi-axis scenario.
Create a HorizontalLine Annotation
A HorizontalLineAnnotation can be added onto a chart using the following code:
// Assume a surface has been created and configured somewhere
// Create a HorizontalLine Annotation
final HorizontalLineAnnotation horizontalLine = new HorizontalLineAnnotation(getContext());

// Allow to interact with the annotation in run-time
horizontalLine.setIsEditable(true);

// In a multi-axis scenario, specify the XAxisId and YAxisId
horizontalLine.setXAxisId("TopAxisId");
horizontalLine.setYAxisId("RightAxisId");

// Specify a desired position by setting coordinates and mode
horizontalLine.setCoordinateMode(AnnotationCoordinateMode.RelativeY);
horizontalLine.setY1(0.1);

// Specify the border color for the annotation
horizontalLine.setStroke(new SolidPenStyle(0xFFFC9C29, true, 2f, null));

// Add the annotation to the Annotations collection of the surface
surface.getAnnotations().add(horizontalLine);
Note
To learn more about other Annotation Types, available out of the box in SciChart, please find the comprehensive list in the Annotation APIs article.
The AnnotationLabels collection
By default, the HorizontalLineAnnotation does not show any labels. You can show a label by adding a AnnotationLabel to the annotationLabels collection, like below:
final AnnotationLabel annotationLabel = new AnnotationLabel(getContext());
annotationLabel.setText("Label text");
annotationLabel.setLabelPlacement(LabelPlacement.Axis);
horizontalLine.annotationLabels.add(annotationLabel);
The Label position can be changed by setting the labelPlacement property which expects one of the LabelPlacement enumeration.
Note
Everything about AnnotationLabels collection and AnnotationLabel can be also applied to the VerticalLineAnnotation
The AnnotationLabel Type
You can change appearance, position, custom value, etcetera for any annotation label which are listed below:
- setLabelStyle - applies style for AnnotationLabel.
- rotationAngle - allows to rotate annotation label text, expects degrees
- text - you can set custom text for your label.
- fontStyle - applies the FontStyle object onto the text.
Note
By default, AnnotationLabel uses its associated axis Y-value to display a label.
To learn more about Pens and Brushes and how to utilize them, please refer to the PenStyle, BrushStyle and FontStyle article.
Also, you can have more than one AnnotationLabel associated with HorizontalLineAnnotation by adding more than one to the annotationLabels collection.
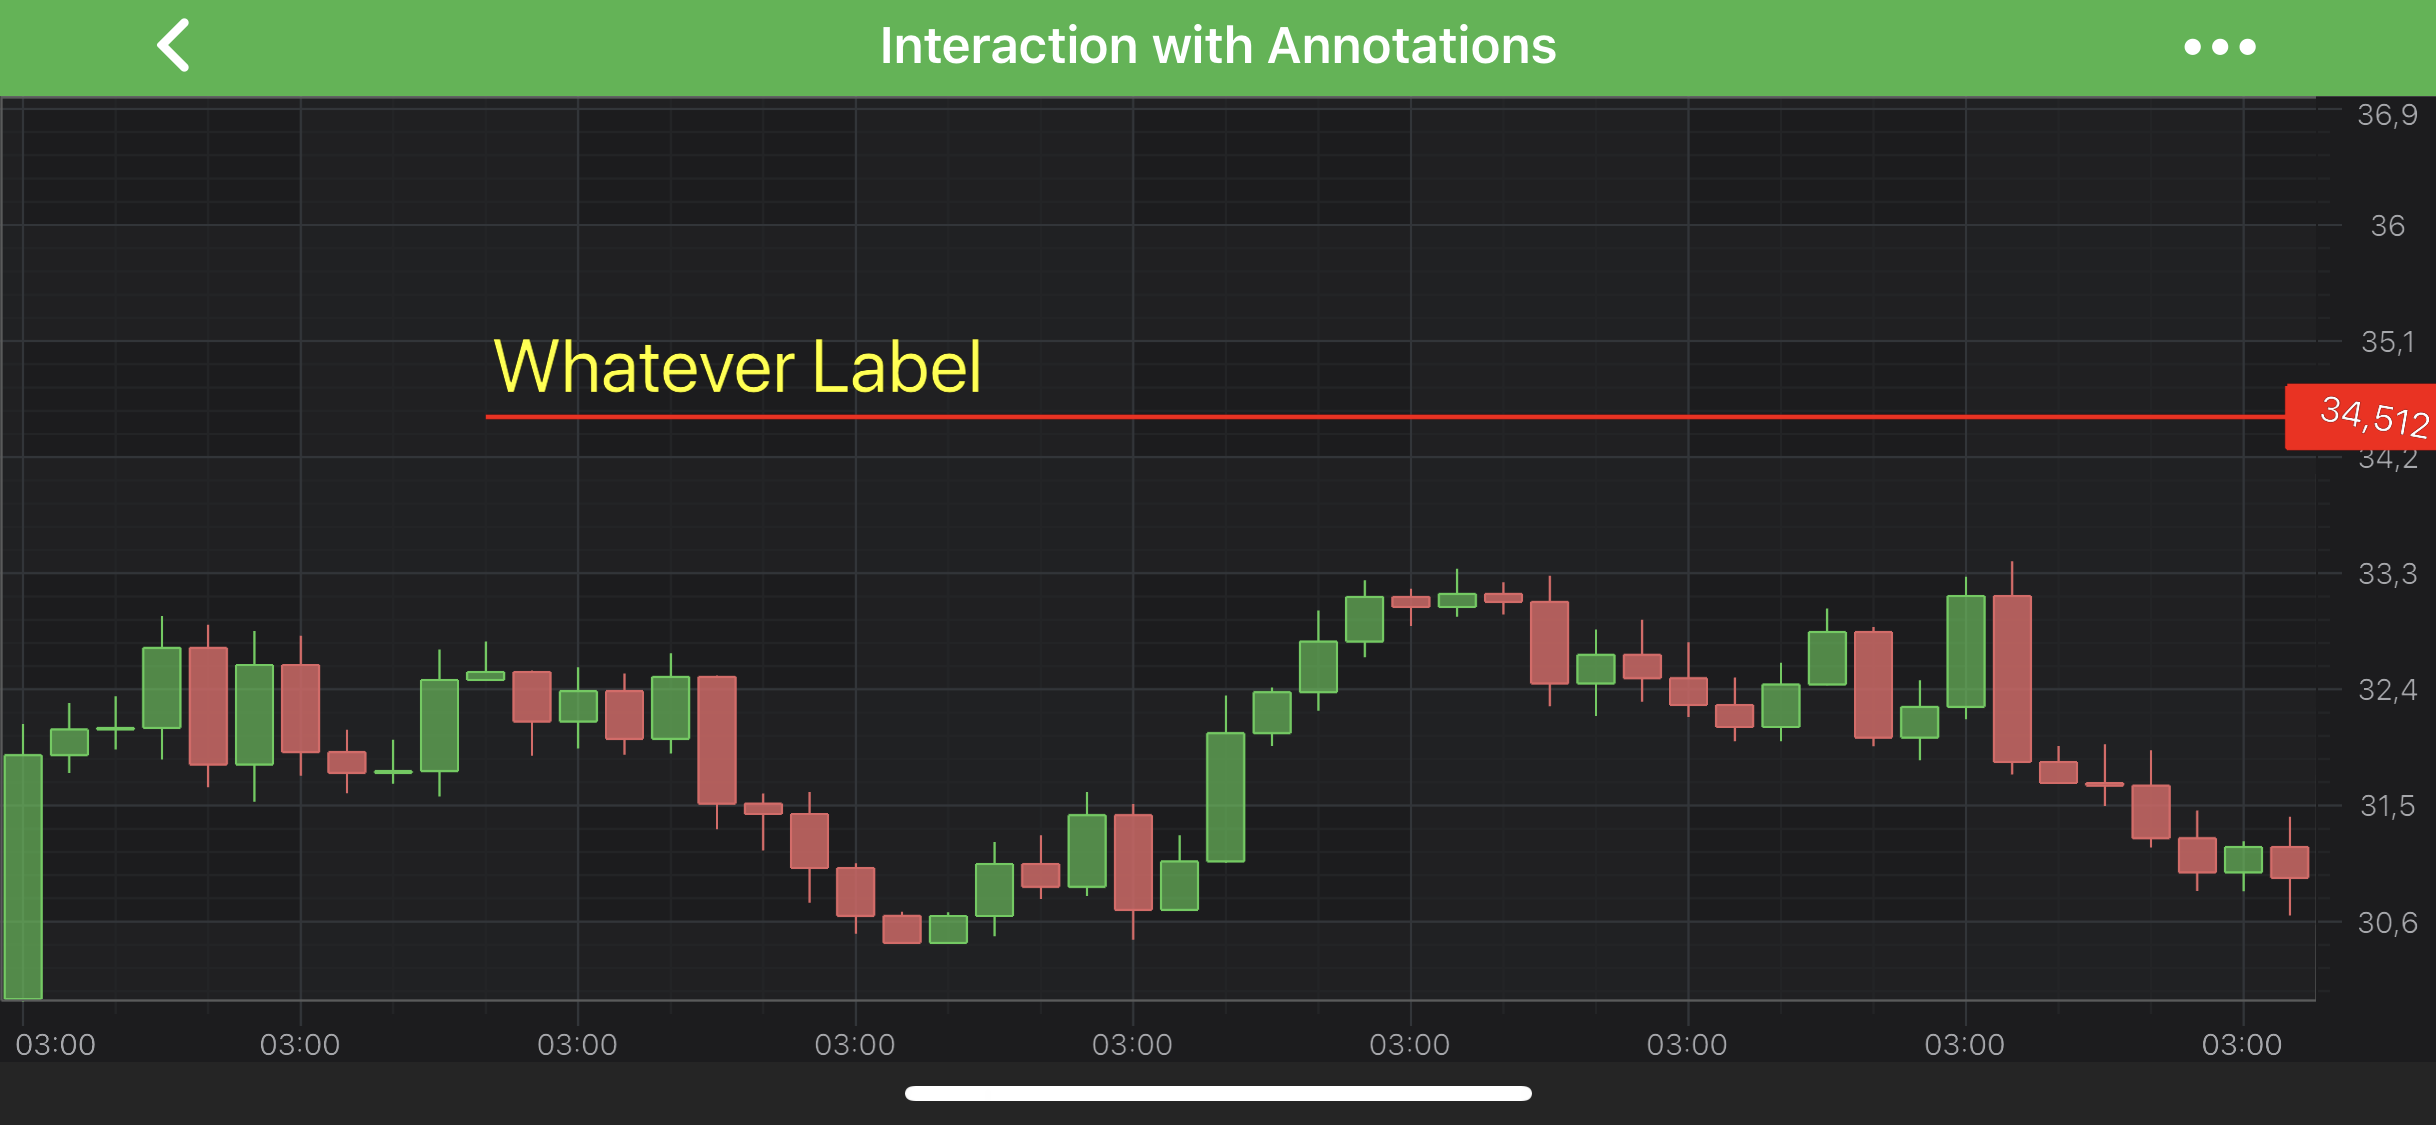
Please see the code below, which showcases the utilization of the above settings:
final HorizontalLineAnnotation horizontalLine = new HorizontalLineAnnotation(getContext());
horizontalLine.setX1(10.0d);
horizontalLine.setY1(34.512d);
horizontalLine.setIsEditable(true);
horizontalLine.setHorizontalGravity(Gravity.END);
horizontalLine.setStroke(new SolidPenStyle(Color.RED, true, 2f, null));

AnnotationLabel axisAnnotationLabel = new AnnotationLabel(getContext());
axisAnnotationLabel.setLabelPlacement(LabelPlacement.Axis);
axisAnnotationLabel.setRotationAngle(-10);
axisAnnotationLabel.setPadding(10, 0, 0, 0);

AnnotationLabel annotationLabel = new AnnotationLabel(getContext());
annotationLabel.setLabelPlacement(LabelPlacement.TopLeft);
annotationLabel.setText("Whatever Label");
annotationLabel.setFontStyle(new FontStyle(25, Color.YELLOW));

Collections.addAll(horizontalLine.annotationLabels, annotationLabel, axisAnnotationLabel);
The result will be the following:
Annotation Label Value and TextFormatting
By default, the label text is formatted by the textFormatting property. For more information, refer to the Axis Labels - TextFormatting and CursorTextFormatting article.
But you can also override the default behaviour by providing a custom IFormattedValueProvider for your HorizontalLineAnnotation corresponding property.
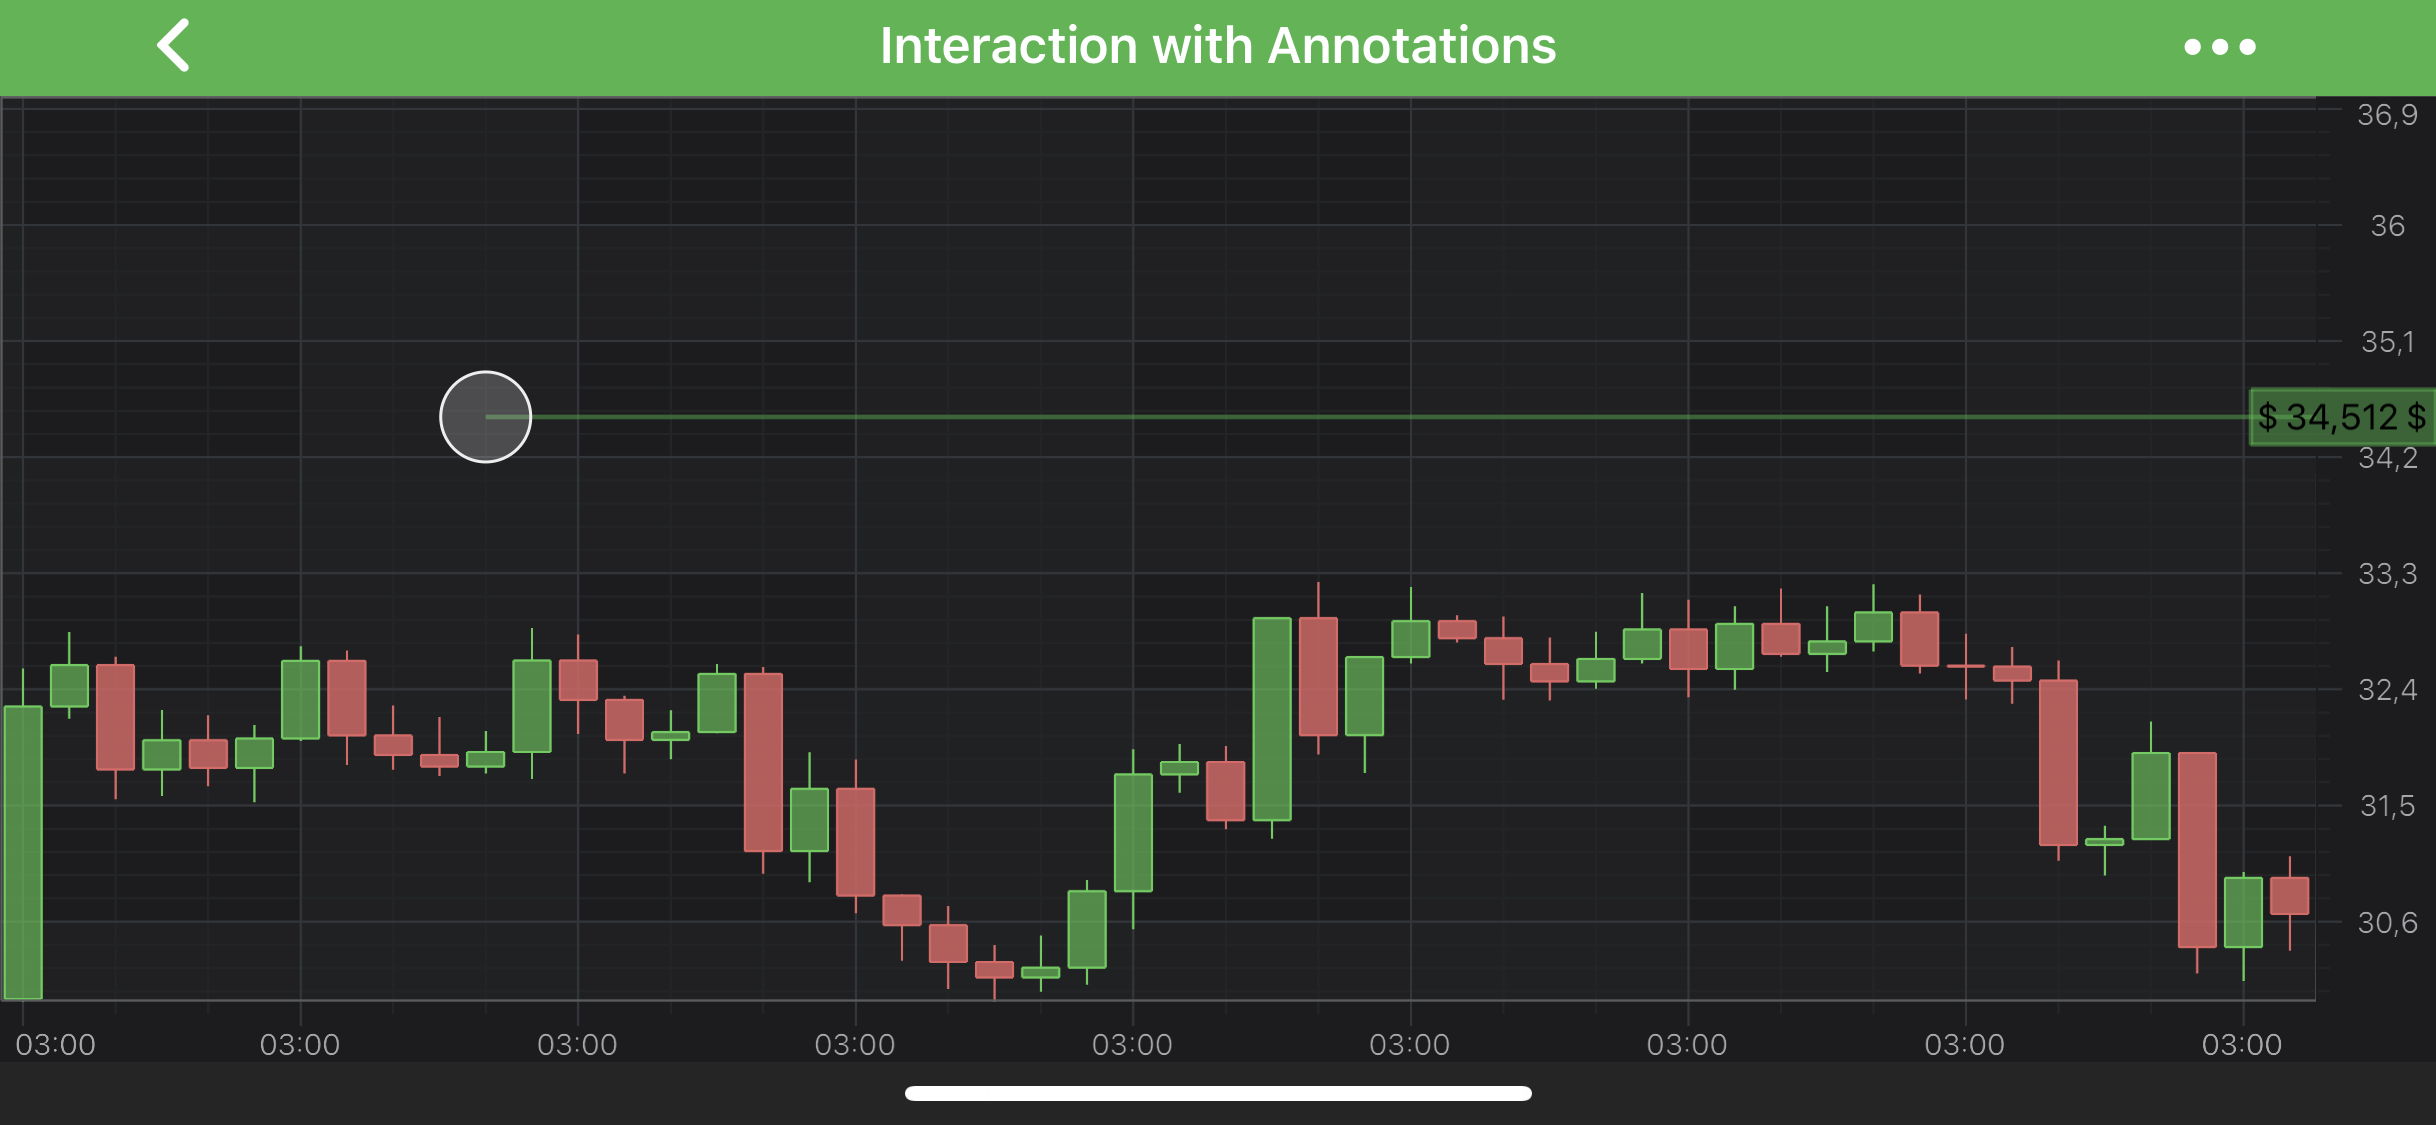
Let's see a short example which shows how to use the above:
class AnnotationValueProvider implements IFormattedValueProvider {
    @Override
    public CharSequence formatValue(AxisInfo axisInfo) {
        return axisInfo != null ? String.format(" $ %s $", axisInfo.axisFormattedDataValue) : null;
    }
}
final HorizontalLineAnnotation horizontalLine = new HorizontalLineAnnotation(getContext());
horizontalLine.setX1(10.0d);
horizontalLine.setY1(34.512d);
horizontalLine.setIsEditable(true);
horizontalLine.setHorizontalGravity(Gravity.END);
// Provide custom IFormattedValueProvider for the annotation
horizontalLine.setFormattedLabelValueProvider(new AnnotationValueProvider());

AnnotationLabel axisAnnotationLabel = new AnnotationLabel(getContext());
axisAnnotationLabel.setLabelPlacement(LabelPlacement.Axis);

horizontalLine.annotationLabels.add(axisAnnotationLabel);
The result will be the following:
Note
To learn more about other Annotation Types, available out of the box in SciChart, please find the comprehensive list in the Annotation APIs article.